Thursday, August 15, 2013

Gooseberry and Elderflower Frangipane Tart


I apologize for my lack of posts since May! It's been a crazy summer, but I have been baking quite a bit and plan to catch you guys up on some of the treats I've been making. Anyway, I was strolling through the Park Slope farmer's market (on 5th Ave. not Grand Army Plaza), when I came upon a carton of gooseberries.

I thought I had a myriad of recipes calling for this exotic fruit, so I brought my gooseberries home with the thrill and satisfaction of finally tackling some of my less accessible recipes. Suffice it to say, I could not find a single cookbook that called for gooseberries and so I turned to the internet in desperation.

After finding about 30 recipes for gooseberry fool, which involves a whipped cream suspension of gooseberries (undoubtedly delicious, but not what I was in the mood for), I found the BBC's recipe for Goosberry and Elderflower Frangipane Tart, which for some unearthly reason they have dubbed a petit four. Whatever fancy ass name you bequeath upon the pastries, they were amazing.

The frangipane is simply an almond custard that acts as a layer in tarts, however some of the recipients of my goods were allergic to almonds. After careful research on viable alternatives to almonds, I settled on pistachios, which ended up being a wonderful choice regardless of medical reasons.

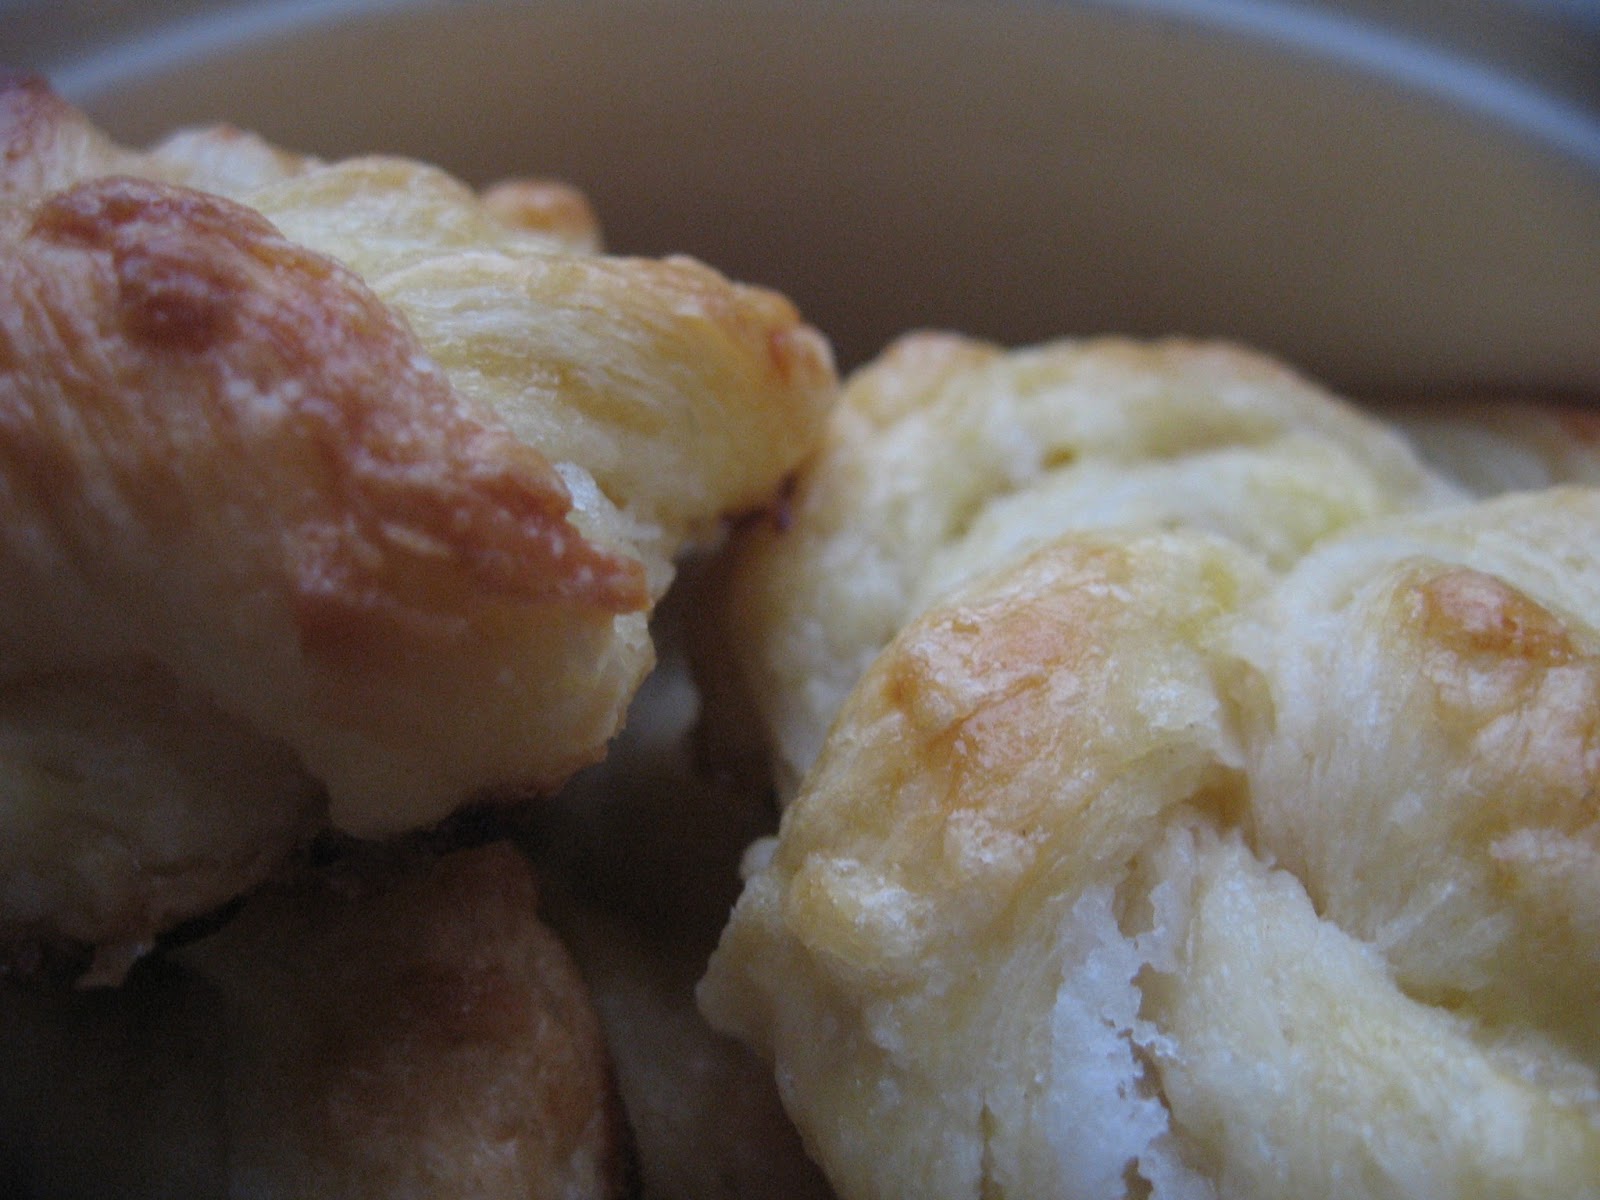
For the pastry, I added 500 g of flour into a bowl with 100 g of confectioner's sugar, and needed this with 250 g of butter. Then I added some vanilla beans from my pod (add at your discretion, but be warned of their potency) and finally I added 2 eggs. Knead until you have a homogenous consistency. I rolled this into a ball and placed it in the fridge for 30 minutes.

For the jam, start by placing a metal or ceramic saucer in the freezer. This will help you determine if the jam has set while you're boiling it. Add a pad of butter to a pot and then add about 225 g of gooseberries (I had less) and 140 mL of water. I simmered this for 15 minutes and then lowered the heat and added 225 g of sugar. The sugar will dissolve and the gooseberries will get softer. After the sugar dissolves, boil the mixture while stirring for about 10 minutes. To make sure you're heading in the right direction, take a spoonful of jam and plop it on the plate in the freezer.

If you're doing it write, the jam will suddenly harden a bit and look like jam, if not, it will be loose and you must boil it further. Pour the jam into a bowl and add 1 tbs of elderflower cordial (purchased at any English specialty shop) and stir. You can place this in the fridge for a bit.

Your oven should be set to 350 F. You can roll the pastry out and place it in a buttered muffin or tart tins. Leave them in the fridge until you're ready to bake. You can then make the frangipane by beating 3 eggs+1 yolk in a bowl, and beating separately 10 g of butter with 150 g of sugar. Add this to the eggs and whisk until incorporated.

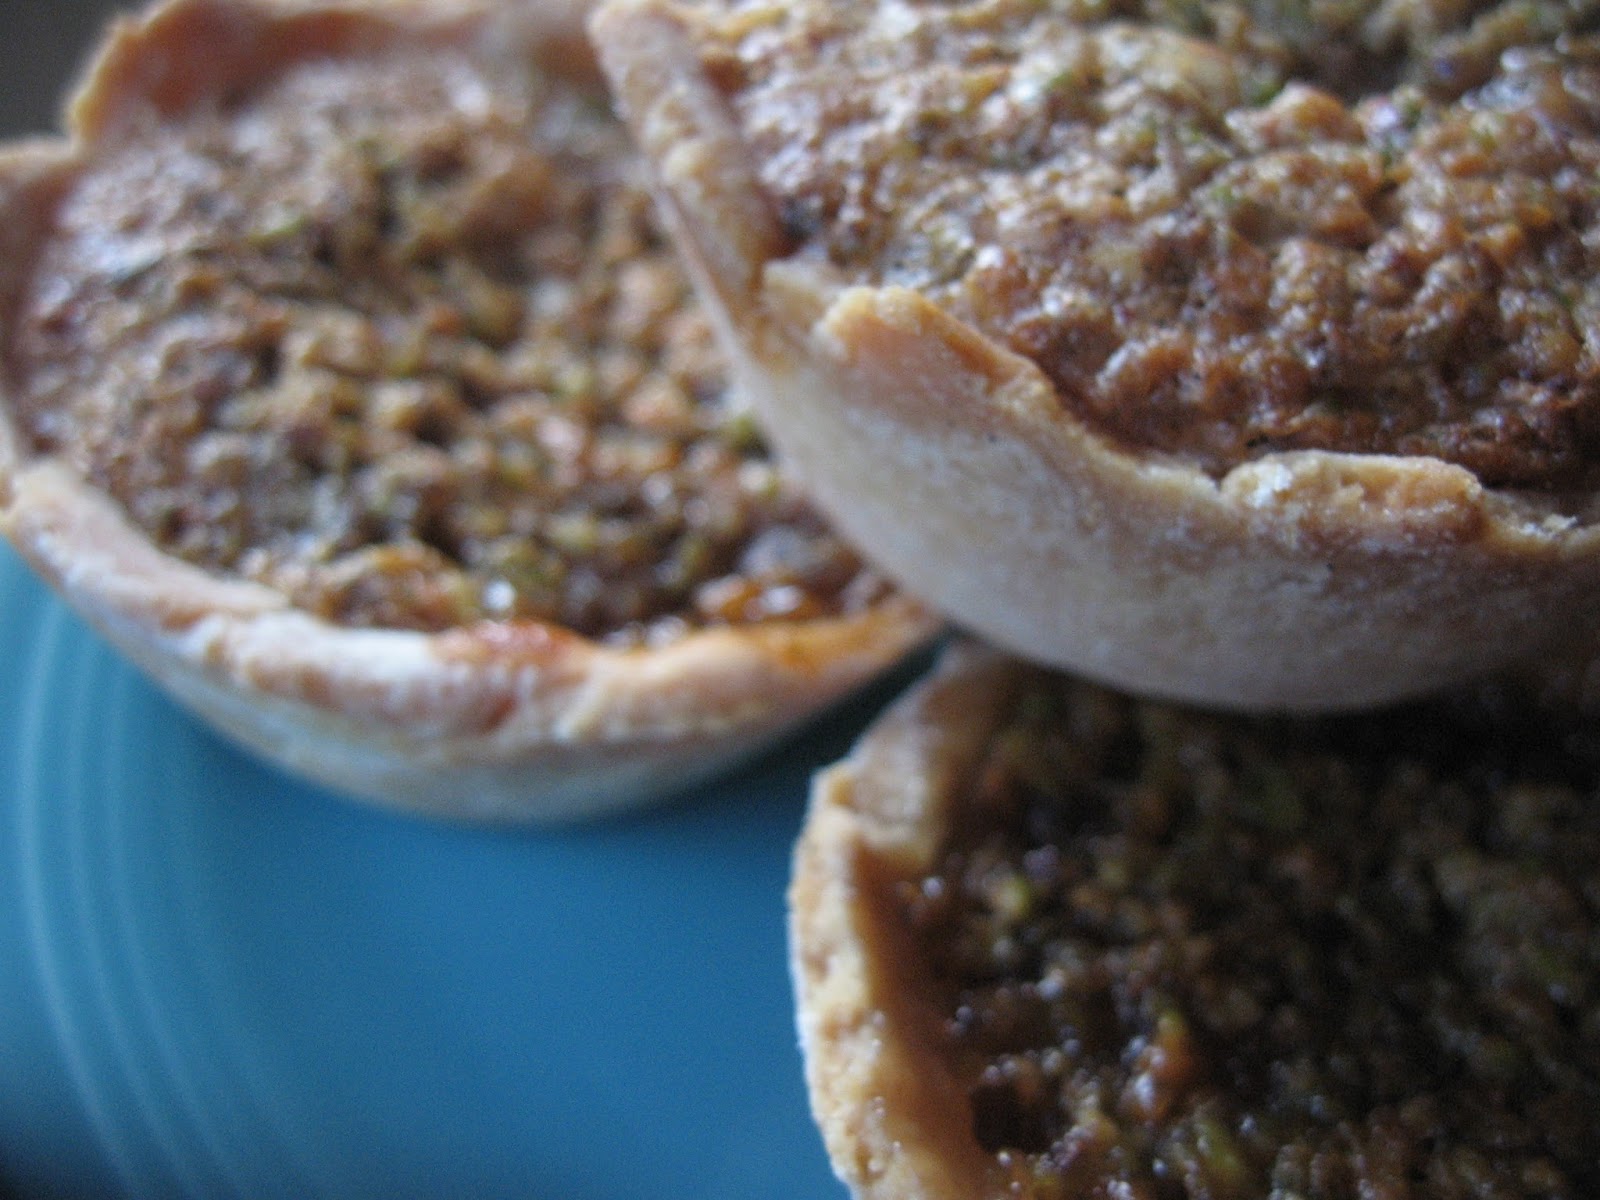
You should also grind 150 g of pistachios (or almonds if you're doing it the conventional way), and add them to the bowl of eggs and sugar, stirring to make sure they are mixed together. To assemble the tarts in the tins, first add a spoonful or two of the jam and then layer the top with frangipane.

They baked for approximately 15 minutes. Gooseberries are simultaneously sweet and tart and the elderflower accentuates their innate tang. They cut the sweetness of the frangipane and tart crust but add a mystical flavor only found in obscure fruits that you stumble across at farmer's markets, just waiting to be baked into all those desserts you've just been dying to try. Stay tuned for more posts!!


Saturday, May 25, 2013

Stracciatella and Chocolate Nudge Cookies

With my first year of university completed, I have returned to my glorious kitchen. Glorious truly in comparison with the communal kitchen in the basement of our dormitory, which boasted a slanted stove, with one moderately effective burner, and the occasional field mouse. Cooking has alleviated the boredom and confusion that seems inherent to the first week home, suddenly removed from the grueling pace but undeniable stimulation that college provides. I honestly didn't know what to do with myself and after downing a few books, I turned to baking, beginning with an unblogged about olive oil cake and chocolate sea salt cake and culminating today with stracciatella and chocolate nudge cookies.
Stracciatella is a ridiculously delicious Italian gelato that consists of a vanilla base and instead of chunky American chocolate bits, boasts thin shavings. It's always a treat to find in a restaurant, but I shied away from making it because it seemed so labor intensive. But with hours and hours temporarily at my leisure, I found a recipe for it in a book of mine called, "Making Artisan Gelato" and set about the task one afternoon. 
The base was fairly similar to the other ice creams I've made, but differed in its cream content since gelato has markedly less fat and thickness to it than regular ice cream, although more than sorbet or sherbet. To begin, you pour 2 cups of whole milk and 3/4 cup sugar into a pot and stirred over a  medium heat until your thermometer reads 170 F. While that is heating up, whisk 4 egg yolks with 1/4 cup of sugar until there are small bubbles. 
The next step involved tempering egg yolks, which essentially means heating them up to a non-cooking temperature, by pouring in half the milk and sugar and whisking until incorporated. Then you can pour the egg mixture back into the pot with the milk and sugar and heat until the temperature reaches 185 F and can coat a wooden spoon. To make sure that the custard is smooth, whisk it further. At this point, I also added the seeds from a section of a vanilla bean that I had procured a few months ago. Cut the bean crosswise and then split it down the middle with a sharp knife. This exposes the seeds and you can scrape them off with the side of a knife into the pot.  
Next, you must pour 1 cup of heavy cream into a metal bowl, which is seated in an ice bath. Allow this to cool for about 10 minutes before you pour in the custard through a sieve and whisk (holding the bowl steady). Wait approximately 30 minutes (stirring every five minutes or so) until the custard has cooled and then place the bowl in the refrigerator for a minimum of 8 hours.
Right before you're ready to make the ice cream, you can begin the stracciatella sauce. It turns out that you don't sit for hours on end with a cheese grater making fine chocolate shavings for the ice cream. Instead, you add 115 g (4 oz) of dark chocolate (I used Mast Brothers) and 1 tsp of safflower oil to a double boiler and heat until melted.
Then pour the custard into your ice cream maker and a few minutes before the ice cream is done, pour the chocolate sauce slowly and evenly into the bowl (while churning). Careful not to clump the chocolate in one area, because the minute it hits the custard it solidifies. If done properly, the force of the churning causes the chocolate to break off into the 'little rags' stracciatella is named for.
After chilling overnight in the freezer, the stracciatella was ready for my eager consumption. The sweet vanilla that overwhelmed the base gelato was nicely complemented by the sharpness of the chocolate bits and made me quite grateful to be cooking once again with real utensils (instead of the plastic ones I resorted to) and ingredients.
I've taken to cooking two completely separate desserts or savories at once (or in rapid succession) because why not? So in addition to the stracciatella, I made what are affectionately termed chocolate nudge cookies after the hybridization of 'fudge' and the 'nuts' that make up its primary elements. The recipe comes from the cookbook of a ridiculously amazing sandwich shop and bakery called Saltie in Williamsburg, the newly ordained mecca for foodies, and rightly so I might add.
Saltie serves an array of sandwiches on their homemade focaccia bread (coming soon) and the meal is completed by a cucumber or hibiscus cooler or alternately a peach lassi and one or two of their desserts, which include fruit galettes, lavender salted shortbread and chocolate nudge cookies to name a few. 
To begin, set your oven to 325 F and butter a cookie tray. In a food processor grind 1/2 cup of pistachios (unsalted) until they resemble large breadcrumbs. Also add 1 tbs sugar into the batch and pulse for one last time. In a large bowl, add 1.5 cups of flour, 1/3 cup of cocoa powder, 1/4 tsp baking powder and 1/2 tsp salt and whisk together. In a separate bowl, you can cream 1 cup of butter with 1 cup of powdered sugar and a splash of Grand Marnier, rum or vanilla extract.  

Slowly add the flour and pistachios to the creamed butter, continuously beating until all the ingredients are incorporated. Finally, add 3/4 to 1 cup of bittersweet chocolate chips. The chips melt from the heat while baking and form layers of tartness in the sweet and grainy cookies. Next form the cookies into small balls with your hands and roll each one in sugar (the whole set requires about 1/2 cup of sugar). I had to cook mine for about 20 minutes, even though the recommended time is 10. Once they're done (have small cracks on the top), allow them to cool and then consume or the other way around. The gelato and cookies went quite well together and I look forward to an entire summer filled with baking and cooking before I have to go off to school again where my skills are put to the test with macaroni and cheese and baked beans. More later.


Friday, January 25, 2013

Lemon Danishes, the Sequel


Most sequels are inferior to their pioneering counterparts, falling victim to predictability and witless exchanges. However, in cooking, second or third time is often the charm, especially when working from a different recipe with new and enhanced tools.

As I mentioned in my last danish post, lemon danishes have just about disappeared from the face of the earth (or at least the three bakeries in Queens and the dining hall at my school that I've explored). Suffice it to say, they are now an endangered species and so I took it upon myself to repopulate my little corner of the world.

My last danish attempt was pretty good for a first try, but resembled more of a hybrid between an english muffin and a buttermilk biscuit. This time, I was determined to make a proper danish and armed with my new marble rolling pin and pastry cloth, I set about the task with as much determination as I could muster.

I stumbled upon a wonderful blog called Joe Pastry, dedicated to introducing proper pastry techniques to baking enthusiasts. I followed his sometimes tedious step by step instructions, that seemed to go on for pages. I learned about the lamination rule, which explains the mathematics behind layering pastry dough (dough folded into threes like a letter in an envelope must be rolled out and then refolded; each refolding raises the base three to the power of five such that if I roll my envelope dough five times, I get 3^5 layers in my cooked pastry).

I also learned about proofing, which creates some sort of greenhouse for the yeast and allows the uncooked, but shaped and ready to bake dough, to rise considerably. But, let's not get ahead of ourselves. I began by using my dough hook for the first time when I added 2/3 cup of whole milk, 2 tbs sugar, 1 1/2 tsp yeast,  2 cups flour, 1 egg and 1/2 tsp salt to a mixing bowl.

Mix with a dough hook (or a wooden spoon) until thoroughly incorporated. I then let the dough rest at room temperature for half an hour and then in the refrigerator for 2 hours. As your 2 hour mark draws closer, you can begin to 'make' the butter slab. Use 1 cup of European butter (higher fat content makes for flakier pastry) and put it on cellophane.

Add 2 tbs flour to the top of the butter (spread) and then cover it with cellophane. You should have a plastic wrap butter sandwich. Then take your rolling pin and don't roll but pound your butter at right angles, until it's pretty flat. If it gets too greasy you can put it in the fridge for a while. When your butter is smooth and flat, fold it back to look like a block.

You can then take your dough out of the fridge and I put mine on my floured pastry cloth. Roll the dough out until it's slightly square and put the block of butter on it. Now fold the sides of the dough to enclose the butter and squish the tips so that the butter is really encased (no openings).

I then used my rolling pin to press hard on the dough/butter envelope at right angles to push the butter to the edges. Joe pastry recommends cutting a bit of a tip or side of with a pastry blade to make sure the butter is being pushed to the sides. After pushing the butter to all the sides, I rolled the dough out until you have a long rectangle. Fold this up in threes like you would a letter for an envelope, repeat and then put it in the fridge for 15-20 minutes.

Then take the dough out, roll it, and repeat 3 times with 20 minute intervals at room temperature. When the dough is all done, it should sit in the fridge for an hour. During this time, you should make some almond buttercream (1/2 cup of butter with as much confectioner's sugar as you'd like plus almond extract for flavor).

When the dough comes out of the fridge, roll it one last time and spread the buttercream around the dough. You can then fold the dough in half and roll it gently. For the shape of danish that I made, I cut long strips from the rectangular dough and then elongated the strips by holding them on their ends and lightly flipping them backwards and forwards.

Careful not to break the strips in this process, although they can of course be reconstituted should something go awry. Then twist the strip and roll into a pastry shape, making sure the end is securely pressed onto the body of the danish.

I put the danishes (which don't expand much) on cookie tins lined with parchment paper and proofed them for 2.5 hours, spritzing them with water every 45 minutes. Make sure to re-cover the danishes with cellophane after every spritz.

I then made an egg wash from an egg yolk plus a tbs water and brushed the danishes with it. In the oven they went for 15 minutes at 375 F. You know they're done when they are golden on top. I made my lemon curd separately and you can find my recipe for that in the original lemon danish post.

You can spoon the curd on when you're ready to eat, because the danishes taste much better at room temperature. I also added a light glaze (just drizzled on the pastry) consisting of confectioner's sugar, water, almond and lemon extract. Stir together until you have a whitish paste. I have to say, my danishes were flaky, layered and light...and of course lemony. At least I know now that I have the ability to save the dying breed of danish, but of course only when I have hours and hours at my leisure.


Saturday, January 19, 2013

Violet Macarons and Cardamom Macarons with Buttercream and Coffee Macarons with Caramel fleur de sel


I went into macaron withdrawal for the past few months while away at a school which boasts an oven that has no window with which to keep an eye on your goodies and one out of four burners that mildly heats up your pot.


That is, I could barely make chocolate chip cookies there, let alone these persnickety little buggers. But complaints aside, I was extremely happy to get back into the swing of things and was pleased to learn that I have, and I don't want to jinx it, been able to consistently produce macarons with chewy, filled shells, intact tops and delicious little feet.


I know when to stop my macaronage and when to put them in the oven after growing their skins. I can even fix explosions or other less dramatic mishaps while they are baking, either reversing the process or at least distributing the calamity.


For Christmas, I received crystallized violet petals, which smell oddly enough like raisins. When crushed in my mortar and pestle however, the perfumey scent of violets arose.


Unfortunately, the flavor was a tad too subtle to compete with the almond flour, and the only reason you could taste a hint of violet was because I infused the buttercream with the remaining powder. I'm not giving up on violet macarons but am surprised that they don't have a more potent flavor.


I won't even give a full sentence to the cardamom macarons, but will move right along to my newest addition: Coffee shells with salted caramel. I ground about 1 tbs of coffee beans in my mortar and pestle and added this at the last minute to my egg whites. Don't forget the egg white powder!!


5 grams makes all the difference in your shell. You can see the shell recipe in my other macaron posts as well as on bravetart's blog. For the filling, I followed my caramel recipe from "Trials and Tribulations of Nika's Maiden Catering Voyage," except I scaled the recipe down by 1/4 and added 2 tbs of Maldon sea salt flakes.


I piped the salted caramel onto the cookies when they had cooled sufficiently and left them out of the refrigerator so that the caramel didn't harden too much.


Note, the caramel does drip a tad, so put some paper towels on your plate. The combination of coffee, caramel and sea salt was to die for and for a final touch, I sprinkled unsweetened cocoa powder on the shells, since I hadn't colored them. Enjoy!