Friday, January 25, 2013

Lemon Danishes, the Sequel


Most sequels are inferior to their pioneering counterparts, falling victim to predictability and witless exchanges. However, in cooking, second or third time is often the charm, especially when working from a different recipe with new and enhanced tools.

As I mentioned in my last danish post, lemon danishes have just about disappeared from the face of the earth (or at least the three bakeries in Queens and the dining hall at my school that I've explored). Suffice it to say, they are now an endangered species and so I took it upon myself to repopulate my little corner of the world.

My last danish attempt was pretty good for a first try, but resembled more of a hybrid between an english muffin and a buttermilk biscuit. This time, I was determined to make a proper danish and armed with my new marble rolling pin and pastry cloth, I set about the task with as much determination as I could muster.

I stumbled upon a wonderful blog called Joe Pastry, dedicated to introducing proper pastry techniques to baking enthusiasts. I followed his sometimes tedious step by step instructions, that seemed to go on for pages. I learned about the lamination rule, which explains the mathematics behind layering pastry dough (dough folded into threes like a letter in an envelope must be rolled out and then refolded; each refolding raises the base three to the power of five such that if I roll my envelope dough five times, I get 3^5 layers in my cooked pastry).

I also learned about proofing, which creates some sort of greenhouse for the yeast and allows the uncooked, but shaped and ready to bake dough, to rise considerably. But, let's not get ahead of ourselves. I began by using my dough hook for the first time when I added 2/3 cup of whole milk, 2 tbs sugar, 1 1/2 tsp yeast,  2 cups flour, 1 egg and 1/2 tsp salt to a mixing bowl.

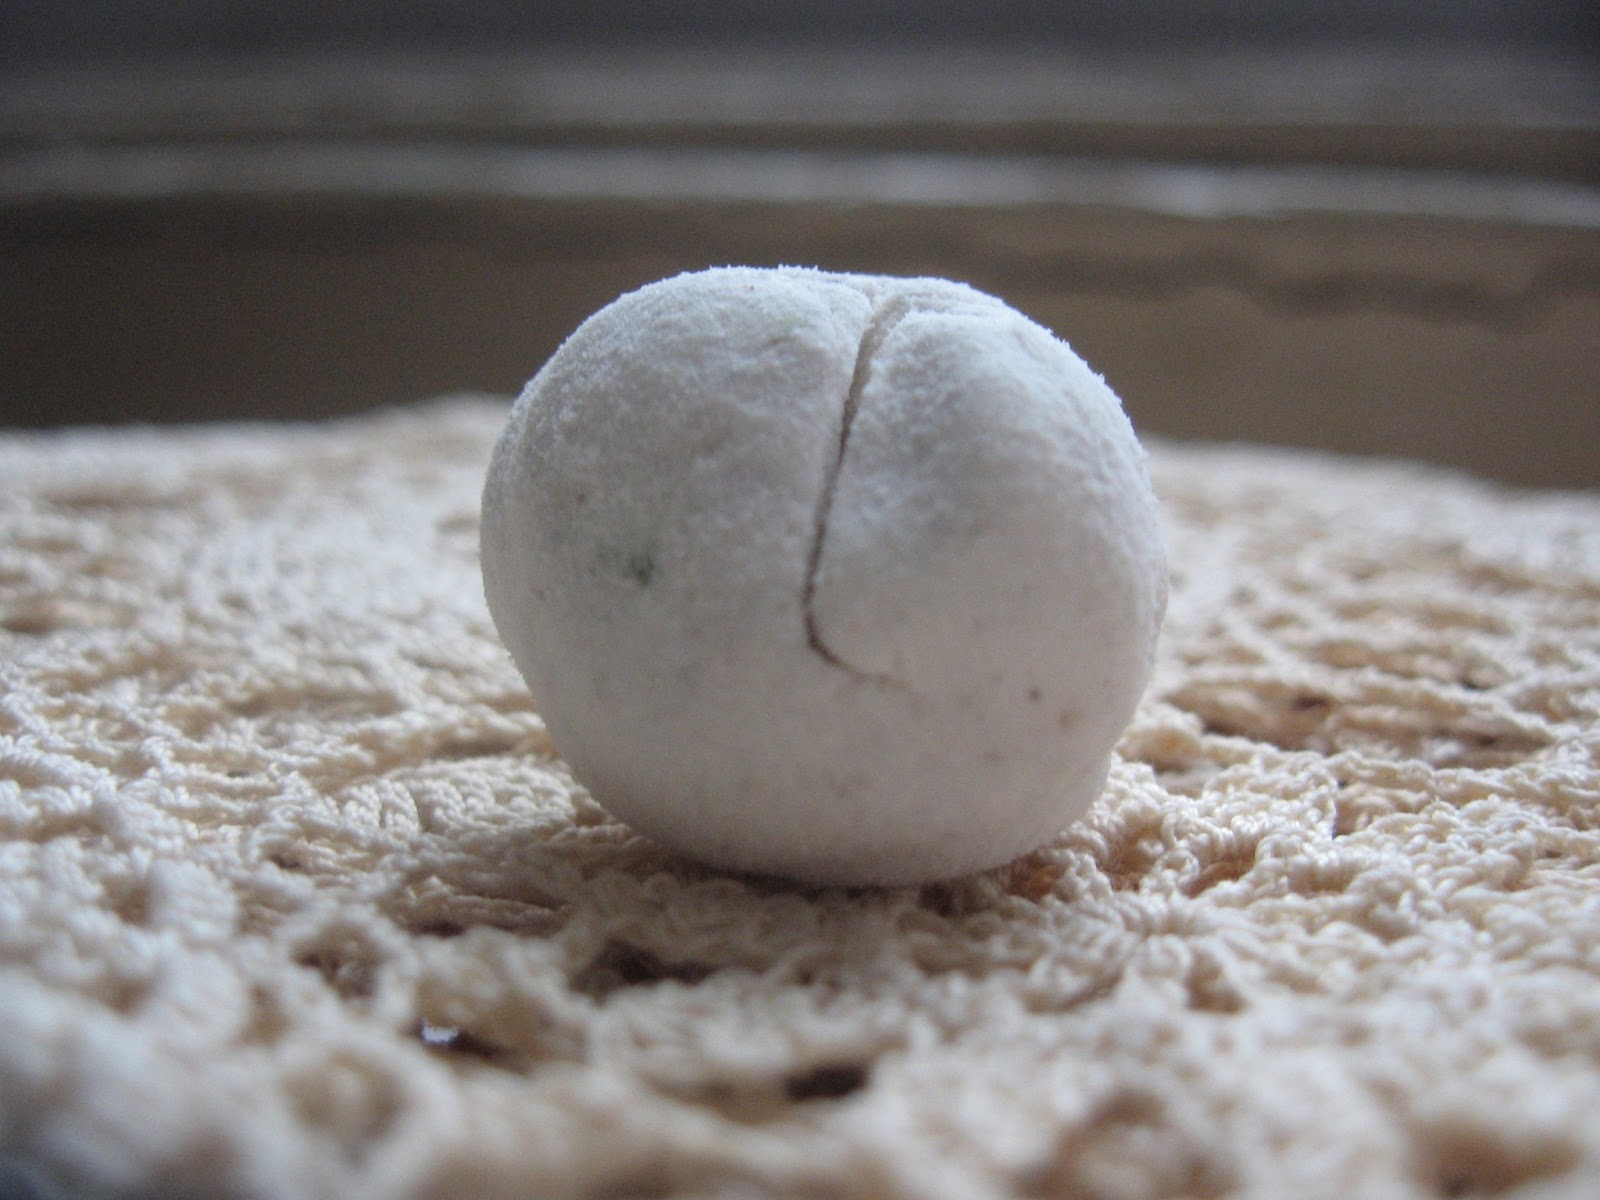
Mix with a dough hook (or a wooden spoon) until thoroughly incorporated. I then let the dough rest at room temperature for half an hour and then in the refrigerator for 2 hours. As your 2 hour mark draws closer, you can begin to 'make' the butter slab. Use 1 cup of European butter (higher fat content makes for flakier pastry) and put it on cellophane.

Add 2 tbs flour to the top of the butter (spread) and then cover it with cellophane. You should have a plastic wrap butter sandwich. Then take your rolling pin and don't roll but pound your butter at right angles, until it's pretty flat. If it gets too greasy you can put it in the fridge for a while. When your butter is smooth and flat, fold it back to look like a block.

You can then take your dough out of the fridge and I put mine on my floured pastry cloth. Roll the dough out until it's slightly square and put the block of butter on it. Now fold the sides of the dough to enclose the butter and squish the tips so that the butter is really encased (no openings).

I then used my rolling pin to press hard on the dough/butter envelope at right angles to push the butter to the edges. Joe pastry recommends cutting a bit of a tip or side of with a pastry blade to make sure the butter is being pushed to the sides. After pushing the butter to all the sides, I rolled the dough out until you have a long rectangle. Fold this up in threes like you would a letter for an envelope, repeat and then put it in the fridge for 15-20 minutes.

Then take the dough out, roll it, and repeat 3 times with 20 minute intervals at room temperature. When the dough is all done, it should sit in the fridge for an hour. During this time, you should make some almond buttercream (1/2 cup of butter with as much confectioner's sugar as you'd like plus almond extract for flavor).

When the dough comes out of the fridge, roll it one last time and spread the buttercream around the dough. You can then fold the dough in half and roll it gently. For the shape of danish that I made, I cut long strips from the rectangular dough and then elongated the strips by holding them on their ends and lightly flipping them backwards and forwards.

Careful not to break the strips in this process, although they can of course be reconstituted should something go awry. Then twist the strip and roll into a pastry shape, making sure the end is securely pressed onto the body of the danish.

I put the danishes (which don't expand much) on cookie tins lined with parchment paper and proofed them for 2.5 hours, spritzing them with water every 45 minutes. Make sure to re-cover the danishes with cellophane after every spritz.

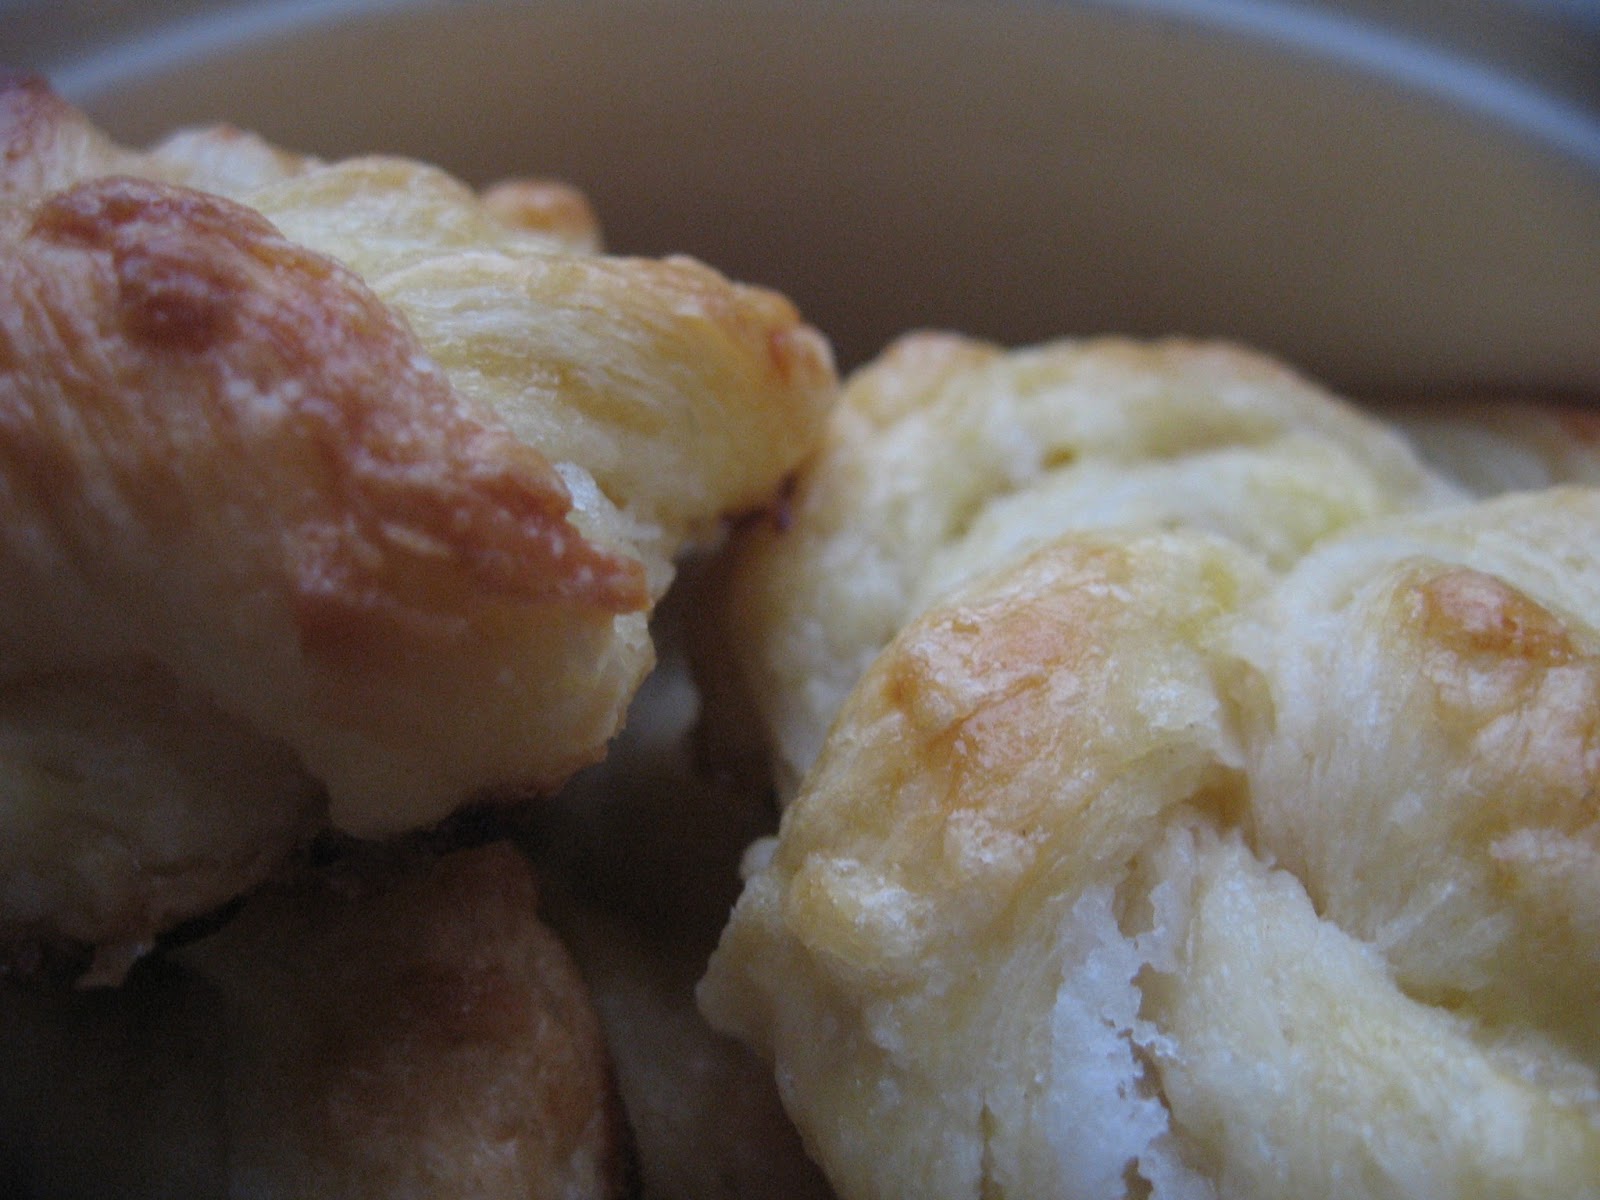
I then made an egg wash from an egg yolk plus a tbs water and brushed the danishes with it. In the oven they went for 15 minutes at 375 F. You know they're done when they are golden on top. I made my lemon curd separately and you can find my recipe for that in the original lemon danish post.

You can spoon the curd on when you're ready to eat, because the danishes taste much better at room temperature. I also added a light glaze (just drizzled on the pastry) consisting of confectioner's sugar, water, almond and lemon extract. Stir together until you have a whitish paste. I have to say, my danishes were flaky, layered and light...and of course lemony. At least I know now that I have the ability to save the dying breed of danish, but of course only when I have hours and hours at my leisure.


Saturday, January 19, 2013

Violet Macarons and Cardamom Macarons with Buttercream and Coffee Macarons with Caramel fleur de sel


I went into macaron withdrawal for the past few months while away at a school which boasts an oven that has no window with which to keep an eye on your goodies and one out of four burners that mildly heats up your pot.


That is, I could barely make chocolate chip cookies there, let alone these persnickety little buggers. But complaints aside, I was extremely happy to get back into the swing of things and was pleased to learn that I have, and I don't want to jinx it, been able to consistently produce macarons with chewy, filled shells, intact tops and delicious little feet.


I know when to stop my macaronage and when to put them in the oven after growing their skins. I can even fix explosions or other less dramatic mishaps while they are baking, either reversing the process or at least distributing the calamity.


For Christmas, I received crystallized violet petals, which smell oddly enough like raisins. When crushed in my mortar and pestle however, the perfumey scent of violets arose.


Unfortunately, the flavor was a tad too subtle to compete with the almond flour, and the only reason you could taste a hint of violet was because I infused the buttercream with the remaining powder. I'm not giving up on violet macarons but am surprised that they don't have a more potent flavor.


I won't even give a full sentence to the cardamom macarons, but will move right along to my newest addition: Coffee shells with salted caramel. I ground about 1 tbs of coffee beans in my mortar and pestle and added this at the last minute to my egg whites. Don't forget the egg white powder!!


5 grams makes all the difference in your shell. You can see the shell recipe in my other macaron posts as well as on bravetart's blog. For the filling, I followed my caramel recipe from "Trials and Tribulations of Nika's Maiden Catering Voyage," except I scaled the recipe down by 1/4 and added 2 tbs of Maldon sea salt flakes.


I piped the salted caramel onto the cookies when they had cooled sufficiently and left them out of the refrigerator so that the caramel didn't harden too much.


Note, the caramel does drip a tad, so put some paper towels on your plate. The combination of coffee, caramel and sea salt was to die for and for a final touch, I sprinkled unsweetened cocoa powder on the shells, since I hadn't colored them. Enjoy!


Cardamom Rose Nougat


One of my greatest joys as a college student holed away in a study hall, away from the creature comforts that sit hundreds of miles away in Brooklyn, is receiving care packages.
Luckily I have quite a creative family, and on occasion I've been sent Mast Brothers Chocolate, a small cutting board with a skull on it, a book of New York short stories and my absolute favorite, a tin full of cardamom nougat from Sahadi's, a Middle Eastern deli on Atlantic Avenue I know I've raved about on this blog before. My grandmother is the one who sends them to me, and I sit there like Edmund Pevensie (I know his Achille's heel was Turkish delight, but really there is little difference), chewing on my sweeties, ready to sacrifice my sisters and brother to the white witch for another bite of candy and sip of cocoa.
They are filled with pistachios and almonds and of course cardamom. My cardamom obsession has reached new heights at school where a jar of it sits on my windowsill ready to be added to my cup of coffee or bowl of yogurt. It seems a luxurious delicacy after five straight nights of, to quote Sarah Silverman, superfuckingshitty pizza and equally disappointing salad.
I jest, but in all honesty, towards the end of the semester, I'm pretty sure the school stops ordering food and just serves us the leftovers in any creative way they can muster. My jar of cardamom is a hallmark of civility and every time I look at it, I think of this episode of M*A*S*H where BJ Honeycutt is washing a pair of argyle socks.

Hawkeye acknowledges that he's never seen BJ wear the socks before and BJ replies, "You wear them, they get dirty. If you keep washing them, they stay clean forever. They're actually just to remind me of better times. Argyle socks, angora sweaters, Woody Herman, bumbling in rumble seats."
My cardamom serves as my umbilical cord to the city, just as BJ's socks tethered him to Mill Valley, California. So naturally, I fell in love with the nougat that my grandmother sends. Besides the obvious flavor appeal, the texture of the candy is so soft and fluffy, I dreamt the other night that I was sleeping on a mattress of it. I wanted to use my fairy wand to concoct the mysterious sweet and so I set about the task this week armed with my candy thermometer and kitchen aid.
My trials were a bit like Goldilocks and the three bears expect for the 'just right' part. But that said, I am well on my way to making perfect nougat. Although it seems self-evident in hindsight, I was ignorant of the basic rules of candy making. Essentially, the hotter your sugar/corn syrup mixture becomes, the harder your candy is, hence the phases embossed on my thermometer: soft ball, firm ball, hard ball, soft crack, hard crack."
So unfortunately the first time I attempted nougat, it was much, much too hard and the second time I made it, it was so soft that it refused to maintain its own shape without the aid of rolled up wax paper. Luckily, even though the candy is not the perfect consistency, it still tastes delicious and the texture itself, is flawless. Describing this process to people, I feel like an obscure specialist fawning over their subject material with such enthusiasm that their total disconnect from the world is charming rather than disturbing. But if you ever make nougat, you will know what I'm talking about.
The minute you add the sugar/corn syrup mixture to the beaten egg whites and watch the poof of steam as rapidly hardening candy and denaturing egg whites join to become this thick, smooth, gorgeous nourishment, you'll never be able to stop.
Anyhow, even though I heated my sugar to "firm ball", or so goes my thermometer, it was anything but. Still, the nougat was very enjoyable and I now know where to find the in between temperature for next time.
But to begin, I added 2 cups of sugar to 1 1/2 cups of light corn syrup and 1/4 cup of water in a pot. I mixed them until they were incorporated and then turned the burner on medium. You have to watch this process to make sure your sugar doesn't caramelize (that would be way too far)...and stir it off and on. Be careful not to drip too much of this on your counter, because it will harden and stick (use a plate to rest your stirring spoon on).
Once it has reached firm ball or about 275 F, I suggest removing your pot from the flame. While I was cooking my sugar, I whipped 2 egg whites and now you can add the sugar/corn syrup mixture to the egg whites while beating on say, a speed of 4. Now add 2 tsps of ground cardamom, 1 cup of chopped pistachios and 1 tsp of rose water.
Beat until incorporated and them pour your nougat batter into a buttered, floured and tin-foiled tin or roasting dish. Allow it to cool for 1/2 a day and then shape it into balls or cut into blocks. Either way, I suggest rolling the nougat in flour before attempting to shape it because it's extremely sticky.
I then wrapped all of my nougats in squares of wax paper and no one would be the wiser to all of my mistakes...until of course they open it up and have to lick the candy off the paper instead of popping a shapely sphere into their mouths. But still, they're pretty damn delicious.